Projects & Thoughts from Louise's head & hands

June 13, 2011

Patio Parties

Filed under: Front Yard Patio — Louise @ 12:53 pm

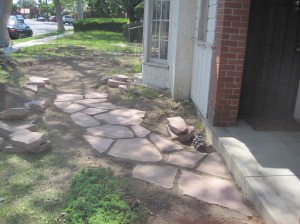
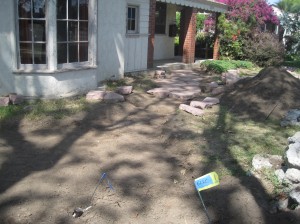
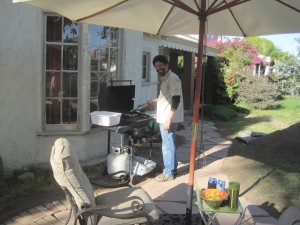
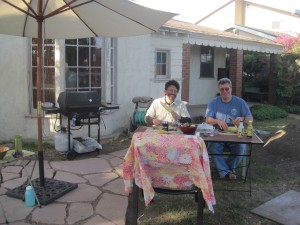
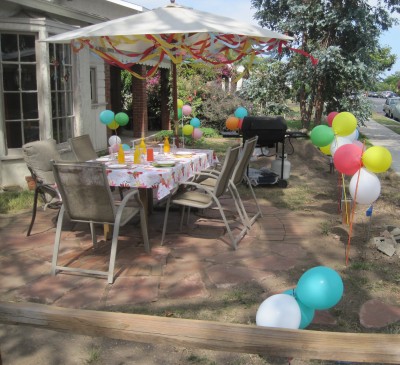
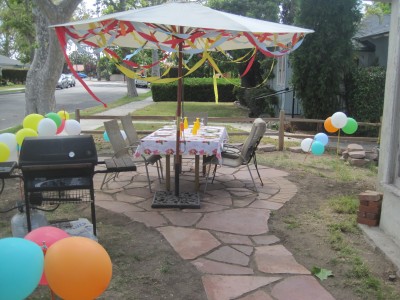
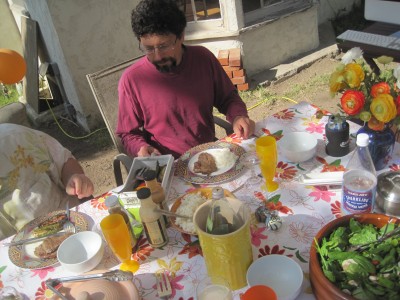
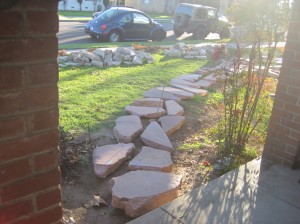
A birthday celebration was the inaugural event for the “pathio”.  I wrapped garden stakes in colourful crepe paper ribbon and Dave blew up balloons.  The balloons were affixed to the top of the stakes and put in the ground along the path and around the patio.  We wove additional paper ribbon around the underside of the umbrella and the table was decorated in cheery Spring splendor.  The sun came out just before our birthday guest arrived making everything look all the more inviting.  One day we’ll look back at these photos and chuckle how bare everything looks without the plants but at least we are already enjoying our new front yard.

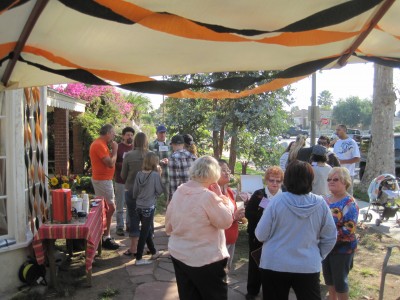
HALLOWEEN weekend was a great opportunity to bring our neighbors together for a Meet & Greet Coffee Klatch.  The weather was beautiful and everyone arrived with something wonderful to eat.  We welcomed the two newest families to our neighborhood, one which also had a new baby born at the beginning of the month.

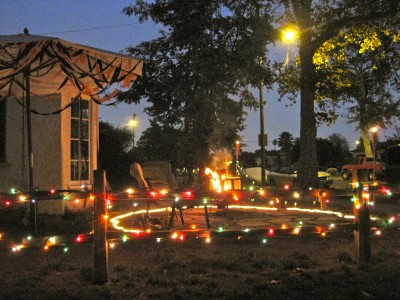
Halloween night the weather was cool.  This was ideal for the campfire we enjoyed on the patio where we waited for and  greeted Trick or Treaters.


June 8, 2011

My Vision

Filed under: Front Yard Patio — Louise @ 11:57 am

My vision and plan for the front yard path, patio and garden has been in development for several years.  I am motivated by a desire to:

  • reveal attractive details of our 1939 Southern California home,
  • plant drought-tolerant plants that dance in the breeze, attracting birds, butterflies and insects,
  • re-purpose reclaimed or rescued materials to do my part keeping useful materials out of our landfills and save myself some money,
  • create a unique and beautiful space where I can enjoy the plants, wildlife, shade from large nearby trees and welcome friends and neighbors.


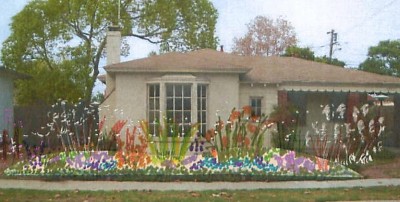
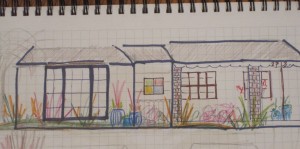
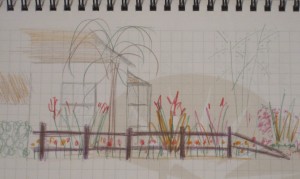
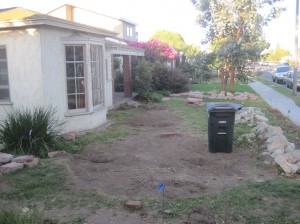
This picture is of our home with the old plantings already removed.  I used construction paper and coloured pens to visualize and articulate what the new front view of the house could look like with different plants on mounds I would add near the sidewalk.  A split rail fence is drawn in at the left.

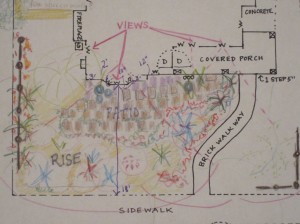
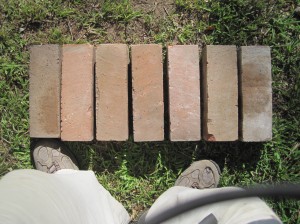
I collected path and patio materials over many months and from various locations:  brick from a nearby alley where the homeowner had no further use for them for his project, rosy-pink concrete from what appeared to be an illegal dump several miles away, and other material from tear-outs or leftovers from completed jobs.  Once I had what I thought was a good number of materials to work with I put together a plan on grid paper using photographs of the materials.


June 7, 2011

Inspirations

Filed under: Front Yard Patio — Louise @ 1:26 pm

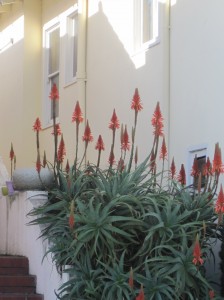
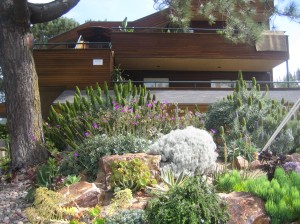
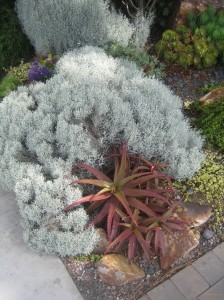
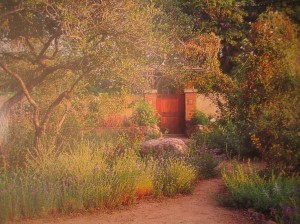
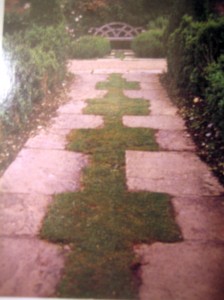
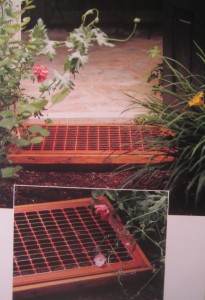
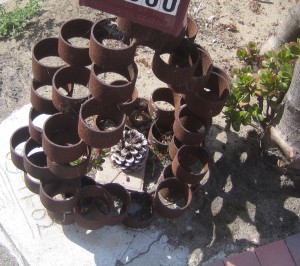
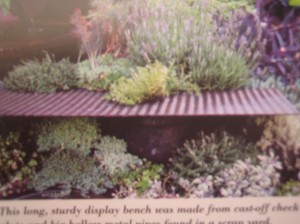
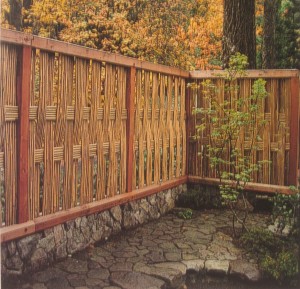
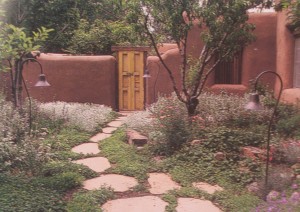
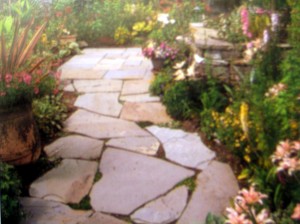
Digital cameras are great.  With one at the ready I have taken many photos of plants, colours, and the use of materials that appeal to me.  These serve to inspire me and inform my ideas.

Keeping my eyes open while I’m out, reading library books and magazines (especially Sunset), surfing the web and talking with folks are all great resources for inspiration and how-to information.

June 6, 2011

Removing Old Plantings

Filed under: Front Yard Patio — Louise @ 8:35 pm

Removing the old plantings was a long, tiring and dirty process.  It was also a little scary because it meant committing to a new plan which I had neither fully defined nor had the materials to immediately implement.  Once the plants were pulled there would be no going back.

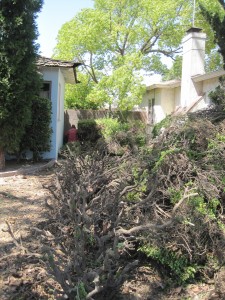
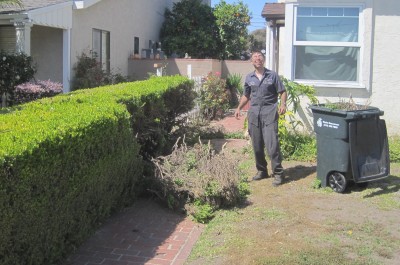
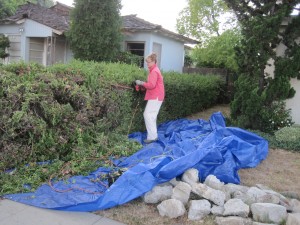
Before:  A dense 6 foot wide, 30 foot long hedge dominated the West side of our property and stiff thorny plant were jammed against the house.  While not a completely unattractive front yard it was neither remarkable or useful.

I started by trimming the shrubs against the front of the house from behind, thinning them and leaving barely a screen of shrubbery facing the street until the final cut.  This was a do-it-myself project which took place over months, quickly filling the green waste container each week.  Given the long stretch of time this process took, trimming from behind kept the front of the house looking relatively unchanged until that final cut.

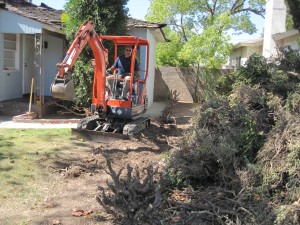
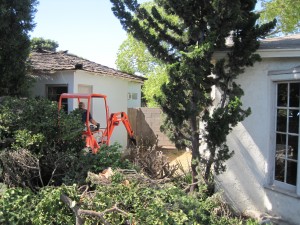
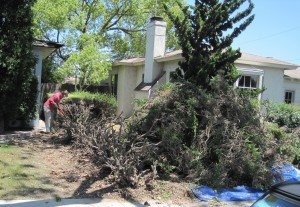
Cutting the hedge took a long time even with good equipment.  The cuttings quickly became a very high and unsightly pile in the front yard.  A benefit of doing such a big project in the front yard, and one which was taking months, was that the neighbors kept dropping by to see the progress.  This has given us a chance to meet and become better acquainted with our neighbors and affirm that our front yard patio idea, where people can come and hang out with us is exactly what we want to promote.

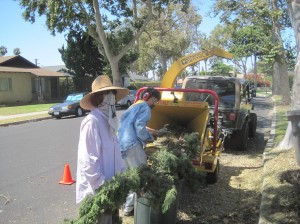
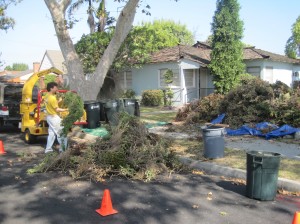
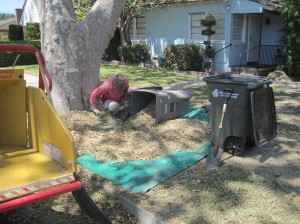
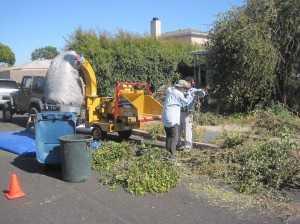
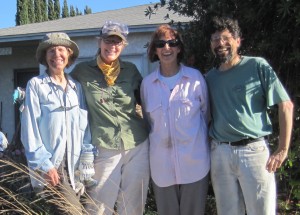
Given the massive amount of cut material piled in the front yard I rented a chipper/shredder to make quick work of the mess.  Neighbors Lindsay, Libby and Matt generously offered time, equipment, and muscle to help pull out the roots and shred everything.  There was an unbelievable amount of shredded material that our next door neighbor was happy to take for their planters…and I was more than happy to provide because I would not need to pay to haul it away or spend weeks filling the green waste containers.

We took the chipper/shredder to Libby’s and Lindsay’s house and shredded trimmings from their front yard.  Their shredded material was bagged and collected by a farmer friend who wanted compost material.

By the end of our shredding extravaganza we were very tired and extremely dirty – but happy for having worked together and accomplished so much.  Thank Goodness for friends and good neighbors!

The result:  When everything was removed our yard became an open canvas.  Views of and from the house immediately changed, fueling ideas for the hardscape and new plantings.  I wouldn’t say the new condition was beautiful; it certainly looked bare and revealed the paint and stucco work that really needs to be done.  But there was no going back now!  I just had to figure out what going forward looked like.

Inspiring Others

Neighbor Jim is inspired to make changes to his landscape and is ripping out his hedge.


June 5, 2011

Developing Ideas

Filed under: Front Yard Patio — Louise @ 11:12 pm

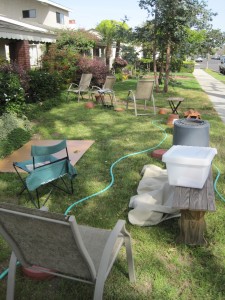
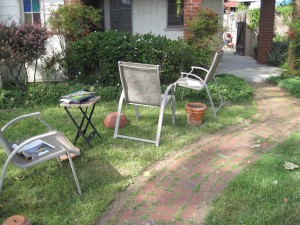
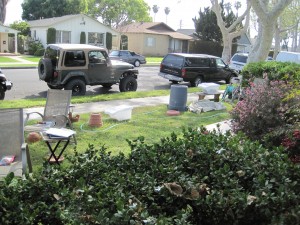
What view did I wish to have?  What view did I want to block?  How would the space feel?  Where would we sit and when we were sitting what would we see?  Using chairs, containers, trash cans, tables, a rug and a garden hose I laid out a rough design on the front yard for the new garden and patio area.  Tall chairs represented tall plants, the hose outlined the garden area while small pots and other containers represented smaller plantings.  The bamboo floor mat gave me an idea of the patio space and its possible location in relation to the house and garden.  With this set up (and a lot of imagination!) I could walk around and sit in the space to get a better sense of what it might actually feel like, something I couldn’t know just by looking at a design on paper.


Dave and I attended Planning Your ‘New California Garden’ a series of workshops at Madrona Marsh Nature Center.  Through in class presentation and our personal work between classes we learned the practical steps to design a landscape plan for our gardens. The topics were:

  1. What are Your Assets? – Site/Self Assessment
  2. Water, Landscape and Hardscape
  3. Themes, Melodies & Garden Rooms – Design
  4. Choosing Your Plants with Confidence
  5. Student Presentations: Landscape Plans

Even with the information gained from these workshops I was a overwhelmed with knowing my next steps to really get the project moving.  Selecting plants, pulling out old plants, deciding on a design for the hardscape and landscape, collecting materials, repairing the windows and repainting the woodwork, moving sprinklers, adding a drip system, adding electrical outlets…friend and Landscape Consultant Kathleen Brown helped me bring order to this chaos.  Based on her input I developed a prioritized action plan with a timetable and a way to capture estimates and actual costs.  Kathleen continues to be a sounding board and valuable resource especially as I get to plant selection.

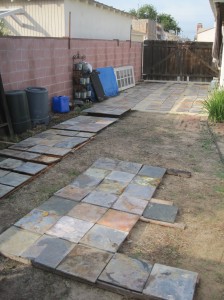
Initially I intended to use 12″x12″ slate I had been given.  Using cardboard pieces the size of the slate was easy to work with and play with different design layouts.


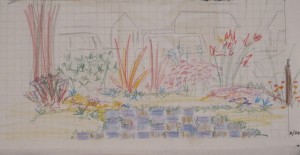
My concept sketches:

  • Looking directly at the front of the house through a screen of tall plants near the sidewalk and potted plants against the house

  • Looking from the living room window across the slate patio to the tall plants near the sidewalk and parked cars and houses across the street beyond

  • Looking at our yard from our neighbor’s yard to the East; split rail fence and tall, breezy plants and trees

  • Aerial view looking down on front yard


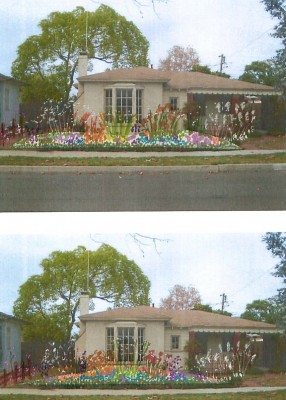
“One lump or two?”  By working with a photo, construction paper and pens/pencils I could better visualize what the view of the front house could look like if we added either one or two mounds to the landscape, next to the sidewalk.  The intention is to bring subtle elevation change to our otherwise flat yard.


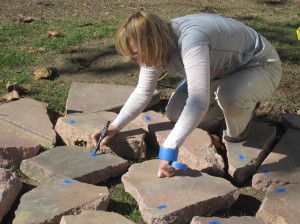
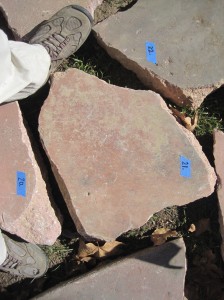
For various reasons the slate was not going to work.  Eventually I found the rosy-pink concrete which I felt certain would go beautifully with some brick I had found and already collected.  Working out a plan with heavy, irregularly shaped concrete chunks presented a challenge.  My solution was to work with photos of the concrete.  I put a piece of tape with a number on each chunk of concrete and took a photo of each piece.

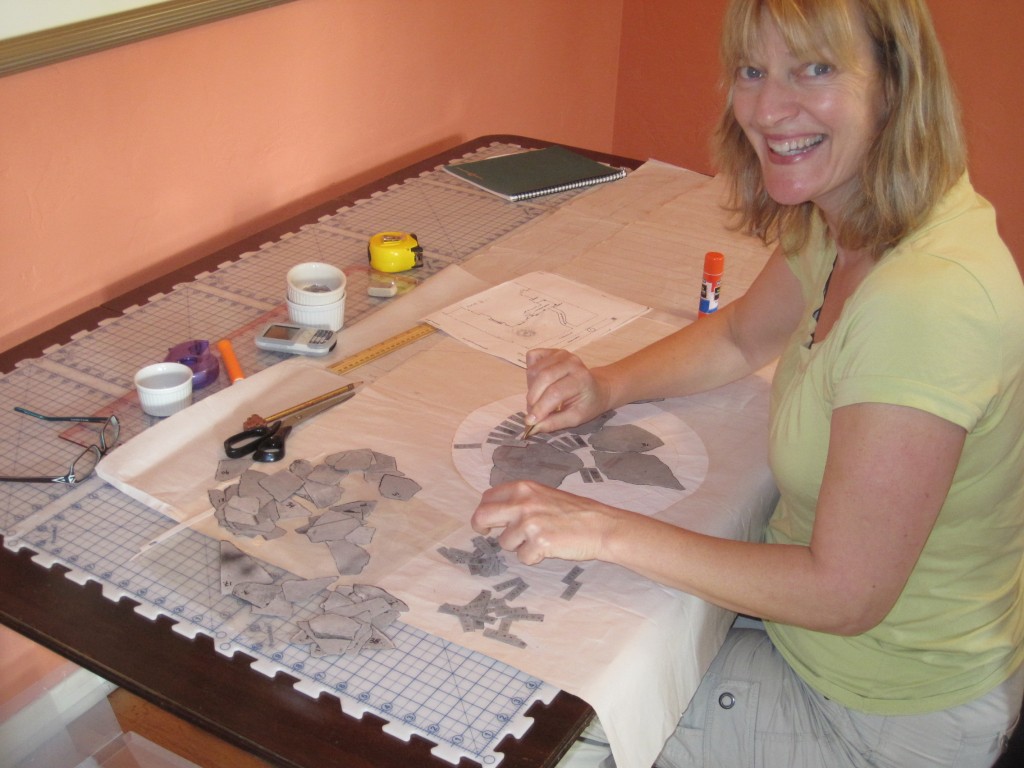
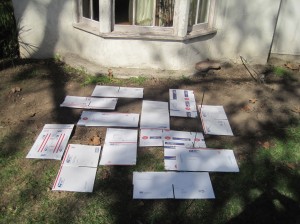
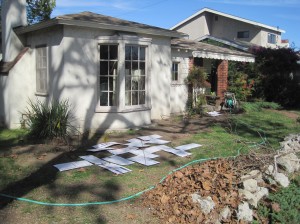
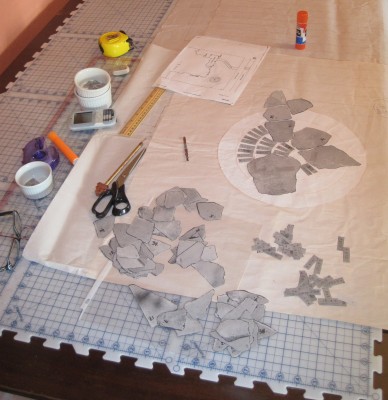
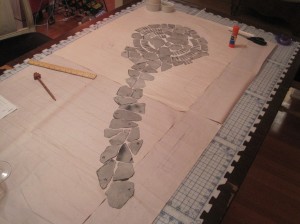
I downloaded the photos into my computer, printed out four images to a page, and cut out the image of each stone.  Essentially these cutouts became a collection of numbered puzzle pieces and, because they were paper rather than the actual heavy concrete, they were very easy to work with.  I had a large piece of paper with measurements of the front of the house, yard and other relevant features onto which I worked out the plan for the path and patio.

From my research I learned I wanted large stones in strategic locations.  Larger stones and stones placed more closely together or in a different configuration than the stepping stones trigger the mind that this is a place for the body to stop.  We have coloured glass windows near the porch, a nice spot for a person to stop.  The patio section of the path would have much larger stones and be a much larger area.  These would indicate stop, rest, enjoy the space.  The configuration of other stones along the walking part of the path would trigger the mind that the body should travel from one point to the next.

I want traversing our front yard to be an enjoyable journey.  Imagine enjoying the environment created by the plants, wildlife and stone every time we walk to and from the house.  Since the garden will be along the sidewalk instead of against the house, passersby will also be able to enjoy the plants and wildlife up close.

Then I moved the actual pieces of concrete and brick into the position I had mapped out.

The result:  I really like what I created!

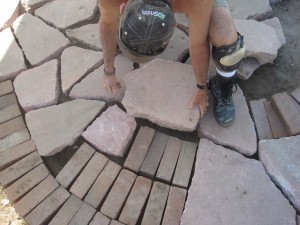
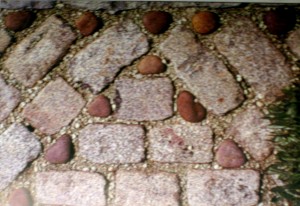
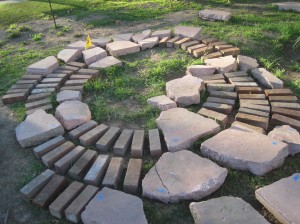
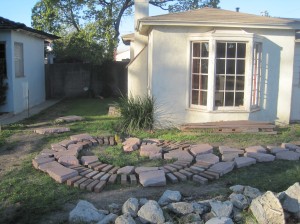
The brick not only echoes the existing brick walkway and columns on the front porch but is also part of my story and the California story.  The concentric brick circles remind me of a similar patio my parents designed and built when we lived together as a family in Boston.  Their patio was made of old brick rescued from historic Cambridge and Boston streets that were being torn up and repaved.  Instead of the brick being tossed into landfills my parents were able to use it in hardscape around their home.  All these years later my reclaimed brick and design speak to that childhood memory, the historic East Coast and the familiar European influences in that part of the country.

The rosy pink coloured irregularly shaped concrete runs like a river from our porch across the front yard towards the West where it bursts through the concentric brick circles, pushing on further to the West.  This represents the Westward movement of man (and me) from the traditional, historic East to the new, developing West.  A quasi-Spanish style look is revealed in our 1939 home and coupled with the design concept of the pathway there is definitely a California story being told here.

Now I also had the plan on paper to use in conversation and further develop and implement my plan.

Dave and I are already enjoying afternoon cocktails on the “patio” because it’s always a good idea to test run these things…


June 4, 2011

Collecting Material

Filed under: Front Yard Patio — Louise @ 8:14 pm

One of my goals for the front yard project is to use re-purpose reclaimed, recycled, and rescued materials.  These are found and free materials that would otherwise go to a landfill.

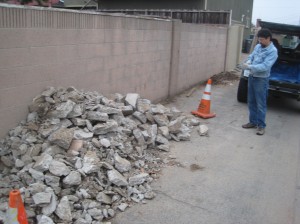
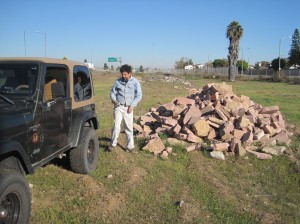
The immediate challenge this presents is that I could not create a design for the pathway until I had materials.  The opportunity this creates is the fun to always be on the lookout for possible materials and to keep an open mind.  Construction sites, alleys, areas where materials have been illegally dumped, neighbors who have spare materials…every trip in the car becomes a journey in discovery.

Collecting potentially suitable materials invariably involved Dave’s participation (and we collected a lot of heavy material).  Without both his physical and emotional support at these and so many other times this project would not be nearly as enjoyable to pursue.

Slate

The first material I collected was 12″x12″ slate from my friend Elizabeth in Laguna Beach.  When she said I could take the slate she cheerily instructed, “Create something beautiful!”


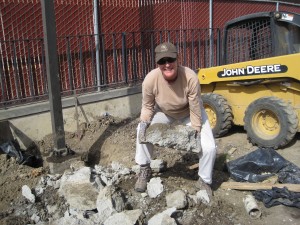
Broken concrete (“rip rap”) for mounds near sidewalk


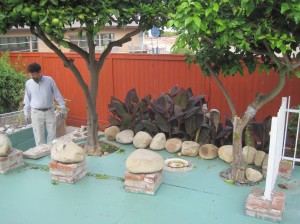
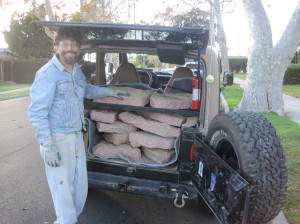
River rock for decoration

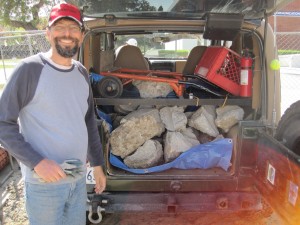
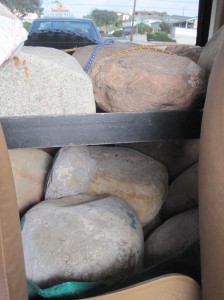
Madeline was selling her house and offered us all these beautiful smooth river rocks.  Note the Jeep sitting hard on the rear springs bearing the weight of the stones.  This was neither the first or last time the Jeep so capably handled an awkward and heavy load.

More rip rap


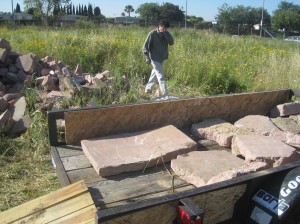
Pink Concrete:  The Mother Lode!

Dave’s Jeep, my Saab and finally a few trips with Orijano’s trailer were used to collect the rosy concrete chunks.


June 3, 2011

Installation

Filed under: Front Yard Patio — Louise @ 6:06 pm

While I had a plan on paper and all the stones numbered, I do not know how to lay stone or even if the finished product could look as good in real life as I saw in my mind’s eye.  I wanted to physically work on the installation but needed an experienced consultative partner.

After interviewing several people and considering their comments, qualifications and bids to install my front path I selected Mike Ragels.  Mike was recommended to me and his references were strong.  He is a stonemason whose vast experience includes working with irregularly shaped stone.  He showed enthusiasm and respect for my vision.  Where others said, “You tell me what you want and I’ll do it,” Mike said we would work it out together so I am completely satisfied with the results.


Getting Things Ready

Dave removed the railing between the front porch and yard.
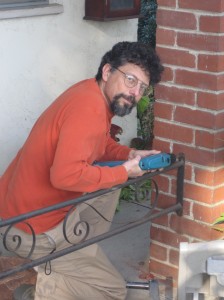
 

Our friend and neighbor Paul shortened the pipe to the outdoor water faucet.
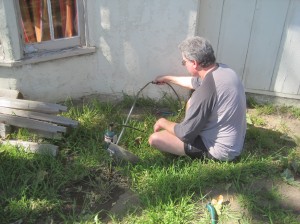
 

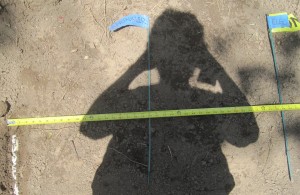
Utility companies had already marked location of the gas, electric and water lines.  Dave and I identified and documented where all the sprinkler heads are and from which solenoid they are running.
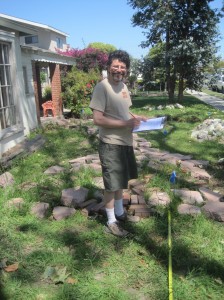
 

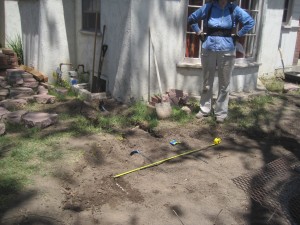
Mike and I worked out the outline of the path.  Even though I had documented lots of measurements I was not sure exactly where on the North/South axis the path should travel.  We walked back and forth across the front yard to determine the best location for the path.  We found it immediately felt natural and right when it echoed the curves in the existing brick walkway and the undulation of the front of the house, where the bay window pops out.
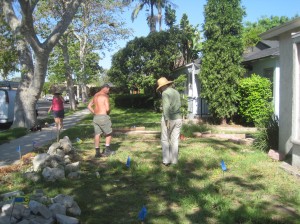
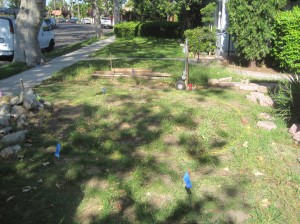
 

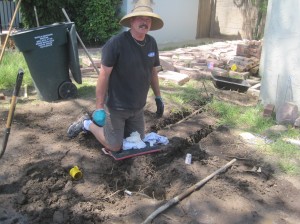
Mike cleared the top level of soil and Jim joined him to grade, move and/or cap sprinkler heads and dig a trench for the electrical.
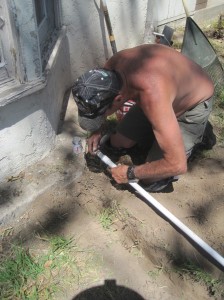
 

Just because you think you are within 30 minutes of finishing work for the day doesn’t mean that’s the way it is going to go.  Anything can happen with the swing of a pick ax, like breaking the sprinkler main.  It turns out our sprinkler system has a separate shut off valve from the house.  We did not know this and might not have learned about it if the breakage hadn’t occurred.  Good thing we had sprinkler pipe, couplers and glue on hand for Jim to fix the pipe.  The ground certainly got mushy!


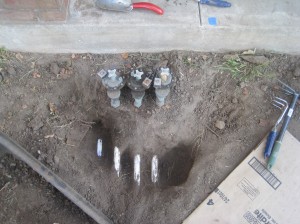
Dave and I continued to document where we were finding pipes, taking measurements and photos.  We now know that the sprinkler’s main feed is the pipe on the West/left side of the three solenoids.  We also know where the sprinkler shut off valve is in the backyard.
 

Laying Stone

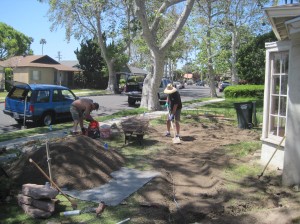
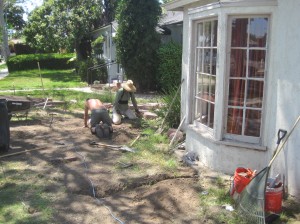
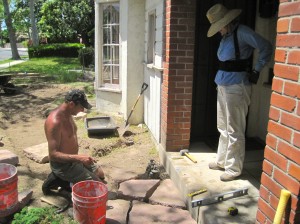
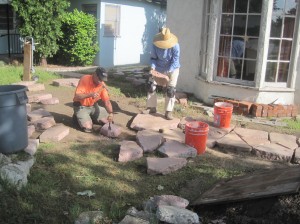
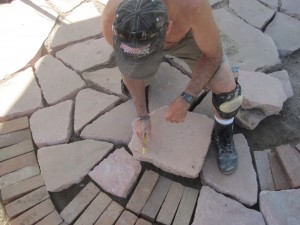
We started by placing the stones (concrete) at the porch.
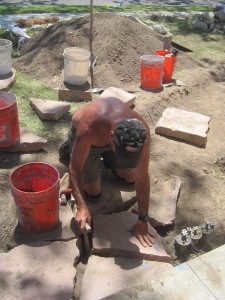
 

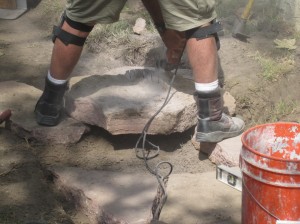
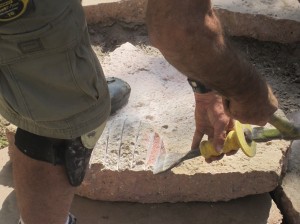
If a stone had a thick spot on the bottom it is more difficult to set level.  Mike would cut off those pieces.


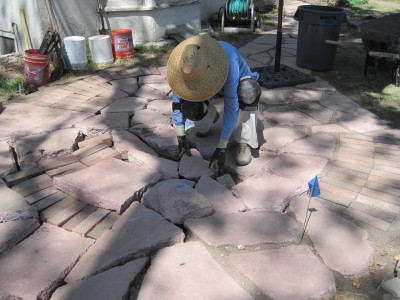
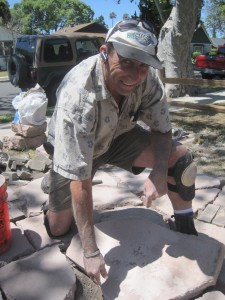
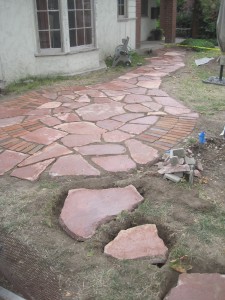
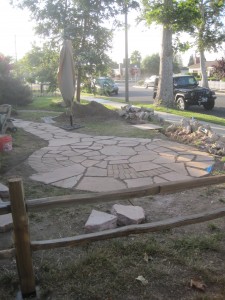
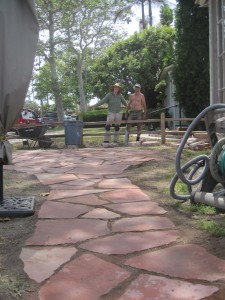
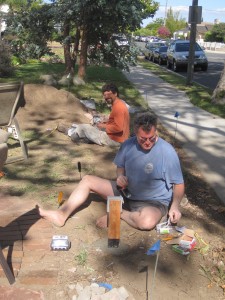
Nearly every week day for four weeks Mike and I considered the merits of each piece of concrete and how it would support the design of what had been laid before it and the ones going next.
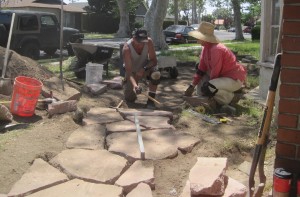
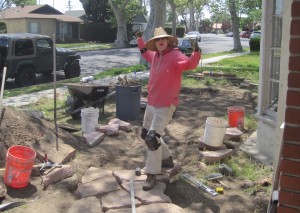
 

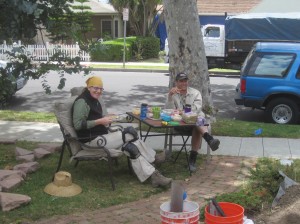
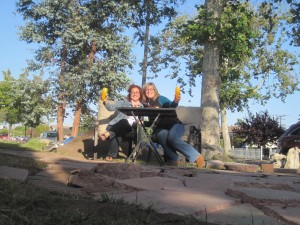
Our lunch breaks were fun:
 

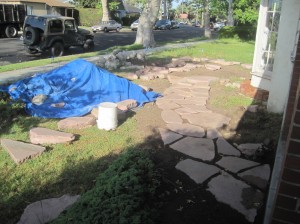
More progress:
 

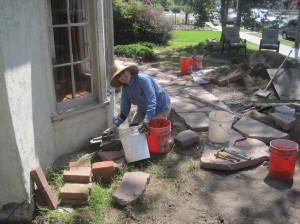
Mike taught me how to mortar so I repaired the concrete around the foundation of the bay window:


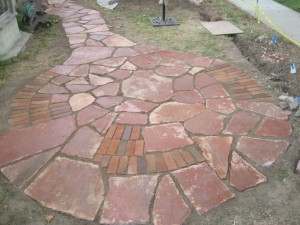
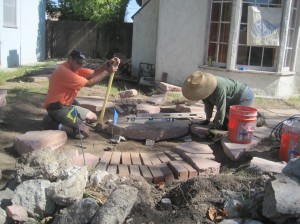
Leveling the biggest, heaviest stone in the middle of the circle then packing the dirt under it to hold it in place:
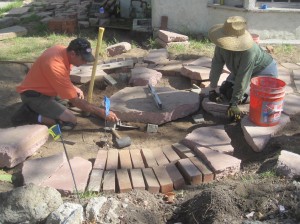


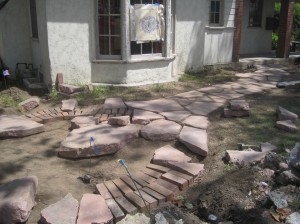
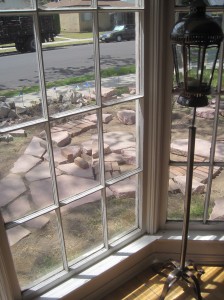
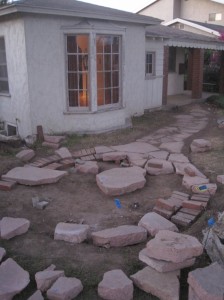
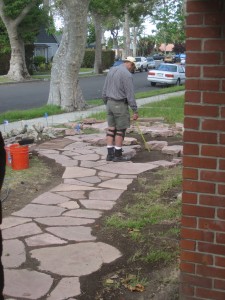
Even though the path and patio are not complete we are still enjoying it!  And many more neighbors regularly stopped by to see our progress.
 

Working out how various pieces will fit together:
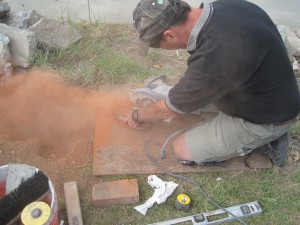
 

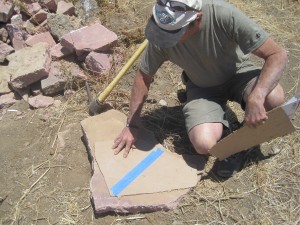
Near the end we still had a lot of pieces from which to choose but none quite the right size for our remaining spaces.  We made cardboard templates of the sizes and shapes we thought we would need and returned to my secret pile of concrete to see if there were a few more larger pieces we could use.  Fortunately there were!
 

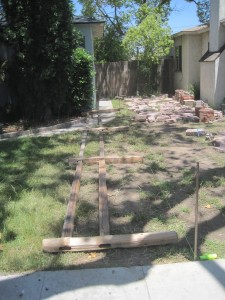
Installing the Split Rail Fence

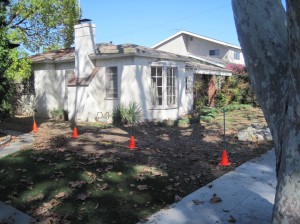
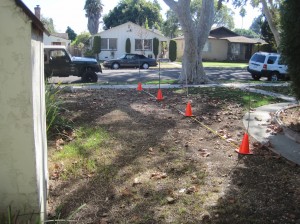
When developing details for the path and nearby fence I used orange cones with 3′ stakes in them to represent the posts of the split rail fence.  Based on actual measurements this helped me determine accurate placement of the fence, what it might feel like to have a fence at the edge of the property and how much fencing I would need.
Below:  Laying out the posts and rails and treating the part that will be in the ground with Henry’s to retard rot.
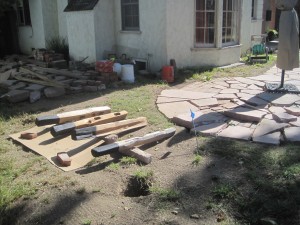
Paul was instrumental in installing the fence.  A couple of the posts and rails were twisted so we used his clamps to keep everything straight and true while the concrete dried.
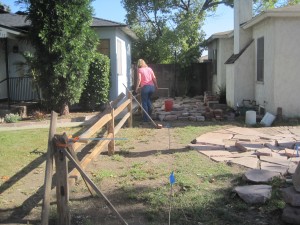
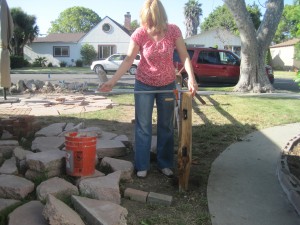
 

Sealing the Stone

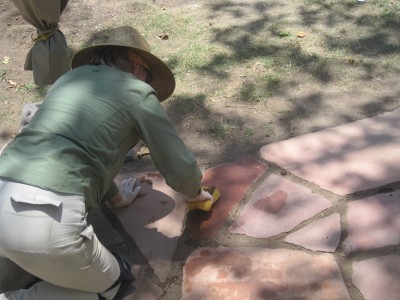
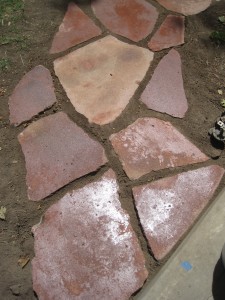
The pathway is ready to be sealed.  The primary purpose of the sealer is to protect the surface from stains.  Since we’ll be cooking, eating and drinking in this area I don’t want to worry about food stains on the stone.  Second, in the case of our path, I selected a stone enhancer.  This brings out the colour of the stone that might not otherwise be evident if left untreated.  The sealer did bring out a richness and variety of colour in both the concrete and brick.

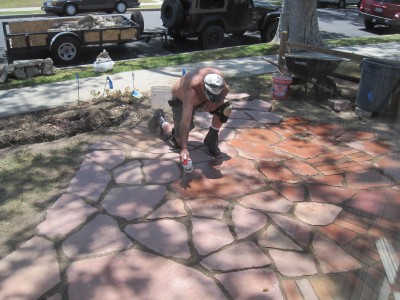
To prepare the stones for sealing each stone needed to be carefully wiped with water and a sponge to remove dirt.  When they were dry Mike sprayed on the sealer.
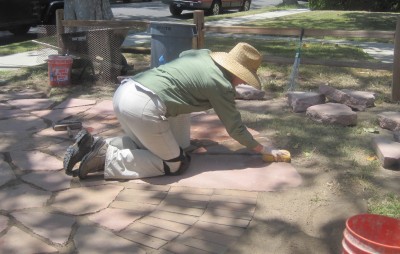
Mike and I worked hard, cooperatively and cheerfully together.  I learned about stonework.   Working with Mike meant working with a friend who cared as much as I do about the outcome.  I not only have great times to look forward to enjoying our new front yard, I also have good memories associated with the creation of it.

Just like Mike said we would when we first met, together we made my vision come true.


Hooking Up the Electrical

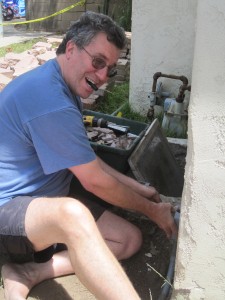
Dave and Paul worked together to provide power to outdoor outlets near the path.  These outlets will be used for the coffee maker on weekend mornings (a water dish for the doggies being walked and coffee for their people), a movie projector for summer night outdoor shows, lights, and hopefully someday a water fountain.



June 2, 2011

Next Steps

Filed under: Front Yard Patio — Louise @ 6:32 pm

Next steps include:

  • Selecting, acquiring and planting drought-tolerant plants
  • Converting sprinkler heads to a drip system
  • Promoting low growing ground cover between the cracks in the pathway stones
  • Considering very large flower pots and plants to place along the front of the house
  • Garden lights
  • Continuing to welcome friends to enjoy our beautiful and useful garden!


June 1, 2011

Timeline

Filed under: Front Yard Patio — Louise @ 5:37 pm

This project has been a long time in the making.  Here’s a high level overview of the timeline of key events:

Summer 2009 – Attend “Planning Your ‘New California’ Garden” series of workshops at Madrona Marsh Nature Center.

March 2010 – [1] Using props (trashcans, garden hose, chairs, etc.) in front yard get an idea of space for landscape and patio layout.  [2] Kathleen Brown, Landscape Consultant – discuss design, strategy, resources and options, what plants to save and how, prioritizing future activities.

April 2010 – Collect rip rap (broken concrete) from nearby construction project to support mounds of soil near sidewalk.

July 2010 – [1] Cut down hedge in one long exhausting weekend. [2] Contact utilities to identify water, gas and electric lines on property. [3] Bobcat used to remove stumps and roots of hedge and plants near house.

August 2010 – 1-day rental of chipper/shredder to mulch all unwanted plant material  (This was another incredibly long and exhausting day!)

October 2010 – [1] Collect river rock from friend’s back yard. [2] Consider placement of fence. [3] Purchase split rail fence materials. [4] Wash slate to prep for sealing (prevented by cool weather and rain). [5] Collect more rip rap. [6] Play with cardboard cut to the size of the slate to consider layout designs. [7] Remove existing metal railing between front porch and yard. [8] Find and collect brick. [9] Determine slate is not the correct material for this project.

November 2010 – [1] Discover and begin collecting pink concrete chunks. [2] Number and photograph each piece of collected pink concrete and bricks.

December 2010 – Work with printed pieces of concrete and bricks to develop path and patio design on paper.

February 2011 – Place actual numbered concrete and bricks in position according to the design on paper.

April 2011 – [1] Collect more pink concrete. [2] Get quotes for patio installation; decide on Mike Ragels for project. [3] Shorten length of outdoor water faucet pipe. [4] Flag and document existing sprinkler heads (their corresponding zones and solenoids), existing gas line and placement of future electrical line. [5] Find and collect more brick.

May 2011 – [1] Begin installation of path and patio. [2] Collect more pink concrete. [3] Install split rail fence.

June 2011 – [1] Collect more pink concrete. [2] Complete installation and sealing of path and patio. [3] Remove rip rap. [4] Run and install electrical.

July 2011 – [1] Patriotic Potluck Patio Party & BBQ!  At Independence Day 2010 I set a goal to enjoy the 2011 festivities on our COMPLETED front yard patio.  We did!  Still no plants, but the red, white and blue streamers looked festive. [2] Lisa Fimiani, Master Gardener, Environmental Restoration Specialist, provides drought tolerant plant consultation.  I’ve got the rest of the summer to prepare the terrain to be ready to plant in the fall when the rains come.
August 2011 – Realized I really need to address the leaking bay window area and rotten wood during the summer.  Scrape paint from bay and coloured glass windows and all woodwork; caulk, repair wood & select paint colours.
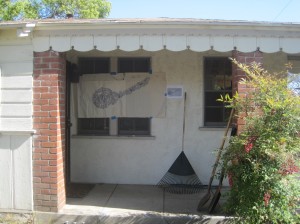
September 2011 – [1] Paint.  [2] Select plants.  [3] Prepare landscape by removing grass layer, putting down newspaper or cardboard to smother remaining grass/weeds, put good dirt on top of the paper, build two mounds near sidewalk.  FYI…none of this happened in September as I was still working on prepping the woodwork and windows.

October 2011 – Well, I haven’t gotten to plant selection or yard preparations yet.  I have removed old, crumbling glaze and horribly chipped and peeling paint from the windows and woodwork, and stripped and sanded the wood.  Glazing – DONE!  Priming – DONE!  Continue to use and enjoy the patio – CHECK!

November 2011 – Painting.  We’ve had wet weather which made testing possible paint colours a bit of a challenge.  With a week plus of hot sunny weather I’m finally getting the painting done.  Will post photos when complete.

April 2012 – Remove turf; select and install initial plants; water deeply throughout the summer to encourage deep roots.  Enjoy the work completed.

…to be continued…


Resources

Filed under: Front Yard Patio — Louise @ 4:32 pm

Armstrong Garden Center, http://www.armstronggarden.com/

Dig Alert, http://www.digalert.org/

Ganahl Lumber, http://www.ganahllumber.com/

Home Depot, http://www.homedepot.com/

Kathleen Brown, Landscape Consultant, 310-948-2112

Kurt True Value Hardware, http://kurthardware.com/

Lisa Fimiani, Master Gardener, Environmental Restoration Specialist, http://www.giardinodellavita.com/

Load n’ Go, 4519 Manhattan Beach Blvd., Lawndale, CA 90260; 310-675-3200 (source for all our slate & crushed rock; BEST prices & service)

Lowe’s, http://www.lowes.com/

M.B. Landscaping Nursery, Inc., www.mbnursery.com , 19202 Main Street & 20300 Figueroa Street, Carson, CA 90745; 310-527-7750

Madrona Marsh Nature Center, http://www.friendsofmadronamarsh.com/j/

Mike Ragels, Stonemason, http://mikeragels.webs.com/ , 310-634-2955, MichaelRay90278@yahoo.com

Native Plants at CSU Dominguez Hills, http://nativeplantscsudh.blogspot.com/

Sherwin-Williams, https://www.sherwin-williams.com/visualizer/

Southern California Water$mart Rebate Program (turf removal), http://socalwatersmart.com/

Sunset Magazine, http://www.sunset.com/

…and friends, family and neighbors.


Powered by WordPress