While I had a plan on paper and all the stones numbered, I do not know how to lay stone or even if the finished product could look as good in real life as I saw in my mind’s eye. I wanted to physically work on the installation but needed an experienced consultative partner.
After interviewing several people and considering their comments, qualifications and bids to install my front path I selected Mike Ragels. Mike was recommended to me and his references were strong. He is a stonemason whose vast experience includes working with irregularly shaped stone. He showed enthusiasm and respect for my vision. Where others said, “You tell me what you want and I’ll do it,” Mike said we would work it out together so I am completely satisfied with the results.
Getting Things Ready
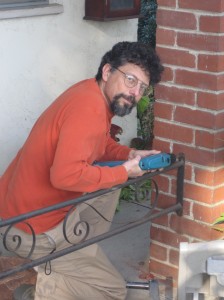
Dave removed the railing between the front porch and yard.
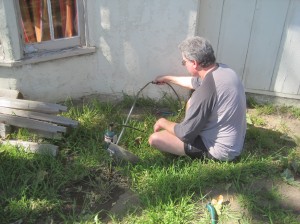
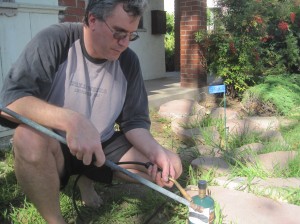
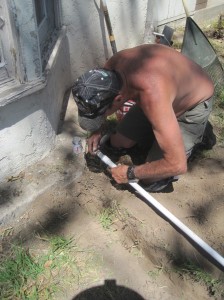
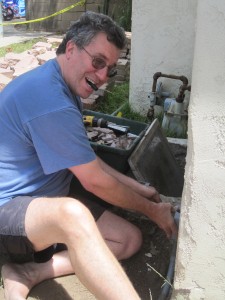
Our friend and neighbor Paul shortened the pipe to the outdoor water faucet.
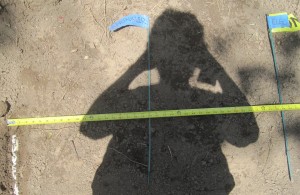
Utility companies had already marked location of the gas, electric and water lines. Dave and I identified and documented where all the sprinkler heads are and from which solenoid they are running.
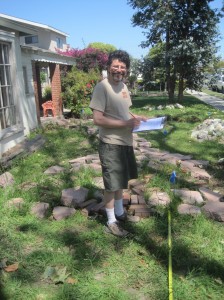
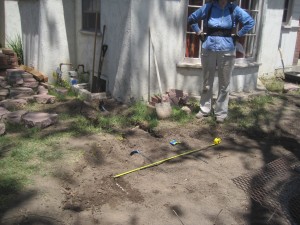
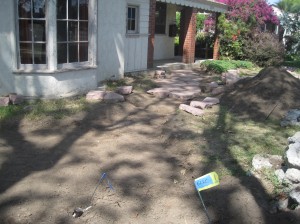
Mike and I worked out the outline of the path. Even though I had documented lots of measurements I was not sure exactly where on the North/South axis the path should travel. We walked back and forth across the front yard to determine the best location for the path. We found it immediately felt natural and right when it echoed the curves in the existing brick walkway and the undulation of the front of the house, where the bay window pops out.
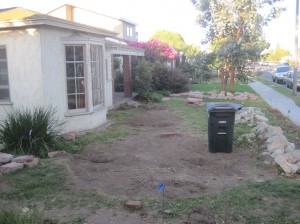
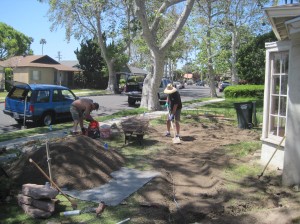
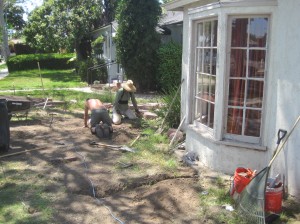
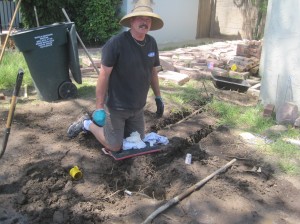
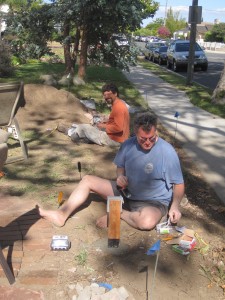
Mike cleared the top level of soil and Jim joined him to grade, move and/or cap sprinkler heads and dig a trench for the electrical.
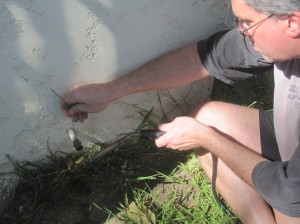
Just because you think you are within 30 minutes of finishing work for the day doesn’t mean that’s the way it is going to go. Anything can happen with the swing of a pick ax, like breaking the sprinkler main. It turns out our sprinkler system has a separate shut off valve from the house. We did not know this and might not have learned about it if the breakage hadn’t occurred. Good thing we had sprinkler pipe, couplers and glue on hand for Jim to fix the pipe. The ground certainly got mushy!
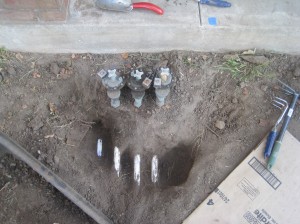
Dave and I continued to document where we were finding pipes, taking measurements and photos. We now know that the sprinkler’s main feed is the pipe on the West/left side of the three solenoids. We also know where the sprinkler shut off valve is in the backyard.
Laying Stone
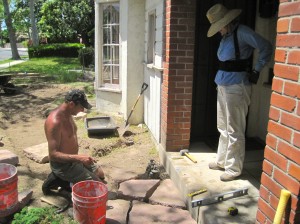
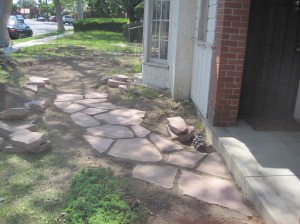
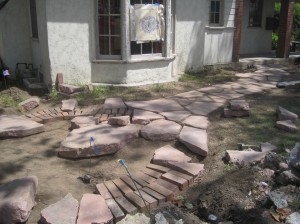
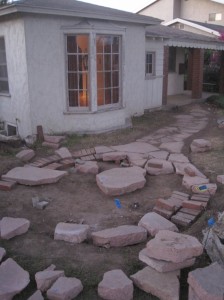
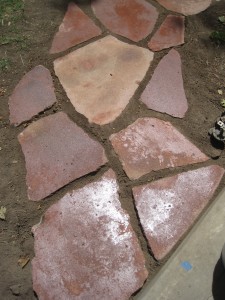
We started by placing the stones (concrete) at the porch.
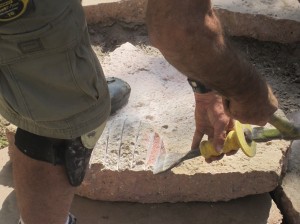
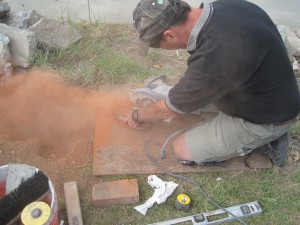
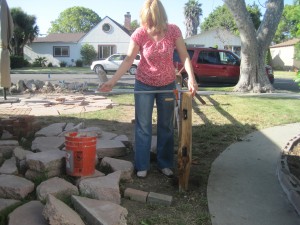
If a stone had a thick spot on the bottom it is more difficult to set level. Mike would cut off those pieces.
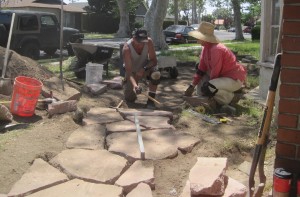
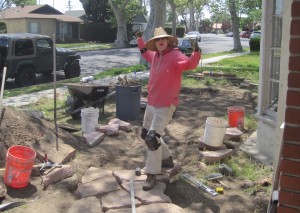
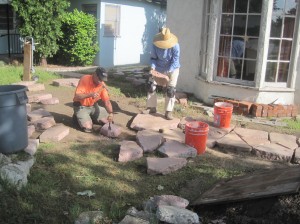
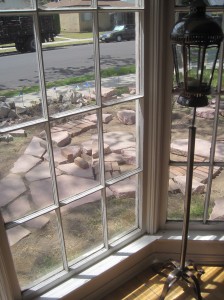
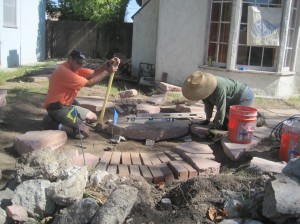
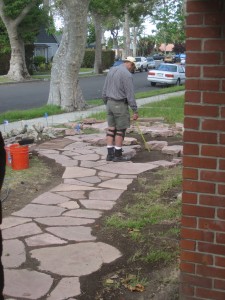
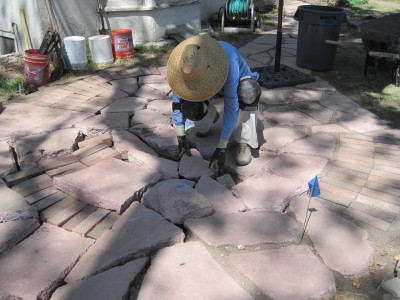
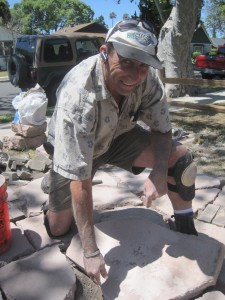
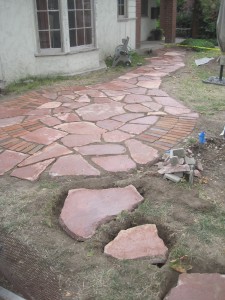
Nearly every week day for four weeks Mike and I considered the merits of each piece of concrete and how it would support the design of what had been laid before it and the ones going next.
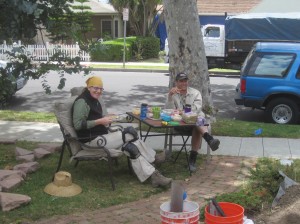
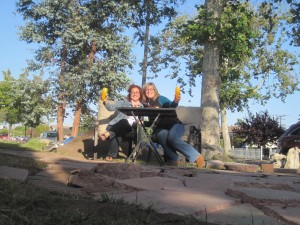
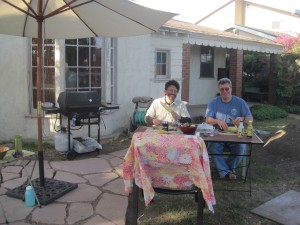
Our lunch breaks were fun:
More progress:
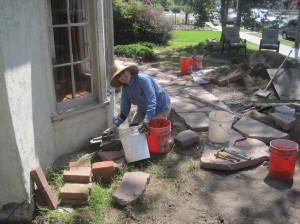
Mike taught me how to mortar so I repaired the concrete around the foundation of the bay window:
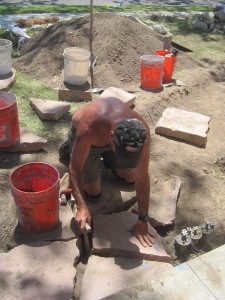
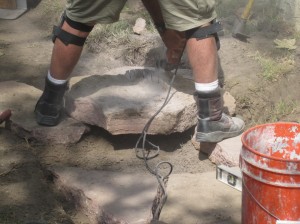
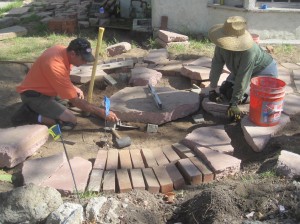
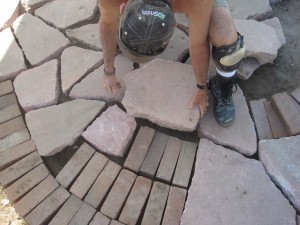
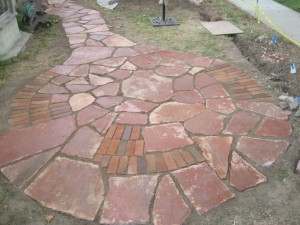
Leveling the biggest, heaviest stone in the middle of the circle then packing the dirt under it to hold it in place:
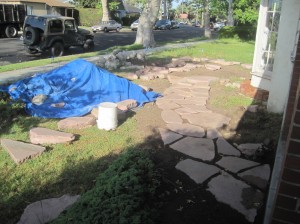
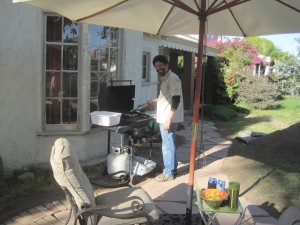
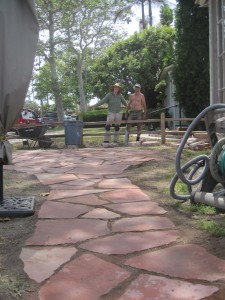
Even though the path and patio are not complete we are still enjoying it! And many more neighbors regularly stopped by to see our progress.
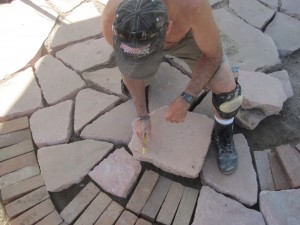
Working out how various pieces will fit together:
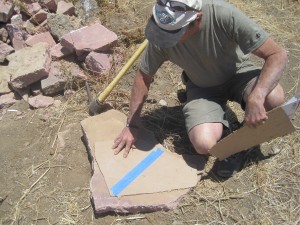
Near the end we still had a lot of pieces from which to choose but none quite the right size for our remaining spaces. We made cardboard templates of the sizes and shapes we thought we would need and returned to my secret pile of concrete to see if there were a few more larger pieces we could use. Fortunately there were!
Installing the Split Rail Fence
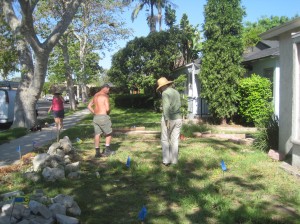
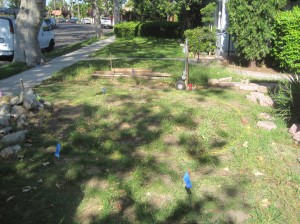
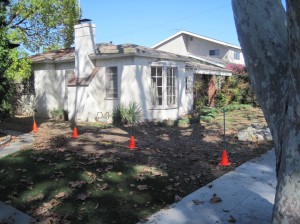
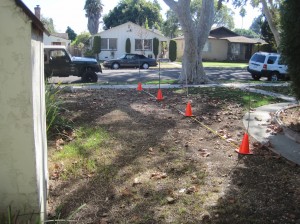
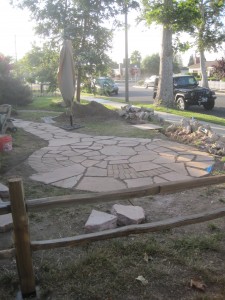
When developing details for the path and nearby fence I used orange cones with 3′ stakes in them to represent the posts of the split rail fence. Based on actual measurements this helped me determine accurate placement of the fence, what it might feel like to have a fence at the edge of the property and how much fencing I would need.
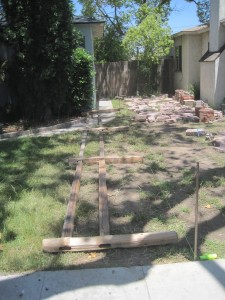
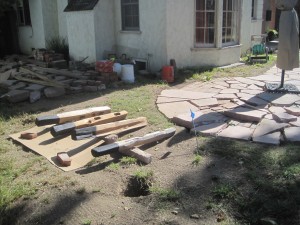
Below:Â Laying out the posts and rails and treating the part that will be in the ground with Henry’s to retard rot.
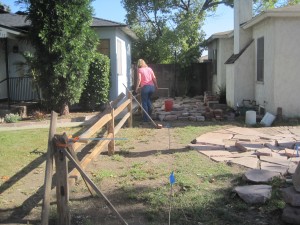
Paul was instrumental in installing the fence. A couple of the posts and rails were twisted so we used his clamps to keep everything straight and true while the concrete dried.
Sealing the Stone
The pathway is ready to be sealed. The primary purpose of the sealer is to protect the surface from stains. Since we’ll be cooking, eating and drinking in this area I don’t want to worry about food stains on the stone. Second, in the case of our path, I selected a stone enhancer. This brings out the colour of the stone that might not otherwise be evident if left untreated. The sealer did bring out a richness and variety of colour in both the concrete and brick.
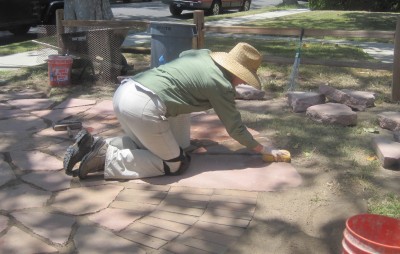
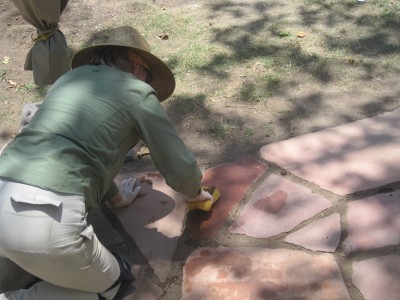
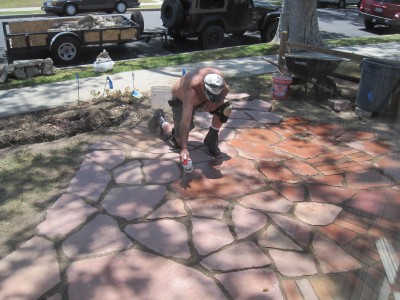
To prepare the stones for sealing each stone needed to be carefully wiped with water and a sponge to remove dirt. When they were dry Mike sprayed on the sealer.
Mike and I worked hard, cooperatively and cheerfully together. I learned about stonework.  Working with Mike meant working with a friend who cared as much as I do about the outcome. I not only have great times to look forward to enjoying our new front yard, I also have good memories associated with the creation of it.
Just like Mike said we would when we first met, together we made my vision come true.
Hooking Up the Electrical
Dave and Paul worked together to provide power to outdoor outlets near the path. These outlets will be used for the coffee maker on weekend mornings (a water dish for the doggies being walked and coffee for their people), a movie projector for summer night outdoor shows, lights, and hopefully someday a water fountain.










WOW! 😮 🙂 I am so proud of you Louise! The journey really shows your “passion” for life. I love how you empowered an enormous amount of energy to your friends and Dave and they became an integral part of your project. Even the neighbors felt the energy to do something good for themselves. Glad to see I made the cut….ha ha ha. CONGRATULATIONS! The patio is fabulous!! I can’t wait to enjoy great times together on your newly energized patio!! CHEERS! Love to you always, Christine
Comment by Christine — June 9, 2011 @ 9:36 am
Your vision, your thoughts, your time and your effort for this project are far greater than I could have possibly imagined. I am in complete awe, and so unbelievably proud of you! YOU are in every stone, and every plant that will grace that garden – which makes it all the more special and beautiful. I LOVE YOU! Anne xoxo
Comment by Anne — June 12, 2011 @ 4:37 pm