Around Thanksgiving 2011 we received an opportunity in the mail to earn a rebate for every square foot of turf we remove from our yard and replace with water permeable hardscape, drought tolerant or low-water plants, and other changes to reduce the amount of water we use. At that point I was on the verge of getting ready to remove the remaining turf in the front yard to finally put in plants.
This offer opened up consideration of a solution for the back yard, which I had been ignoring until I completed the front…both are BIG projects.
We decided to remove the maximum amount of turf from our yard that met the rebate requirements (up to 2,000 square feet) and fulfilled our needs for an improved yard.
To get the project started:
1. Measure the areas of turf to be removed (we had just over 2,000 sq ft to remove).
2. Submit an application with a description of what we planned to plant &/or change in our sprinklers and photos of the areas.
3. Upon receipt of approval for the project we would have 120 days in which to complete the work to be eligible for the rebate.
WE ARE APPROVED!
Our deadline was April 20 and we had to get going.
Back Yard Project Overview:
1. Clear trailers from area where project would take place (moved to under the orange trees).
2. Mark areas where turf was to be removed.
3. Identify & protect sprinkler heads.
4. Identify areas for hardscape and plantings. Research hardscape options.
5. Cut and remove turf.
6. Hire Mike Ragels and obtain hardscape materials. Install hardscape.
7. Move trailers back into place.
8. Install ground cover.
ACTION!
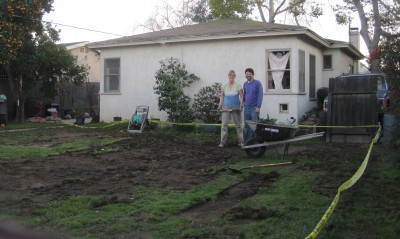
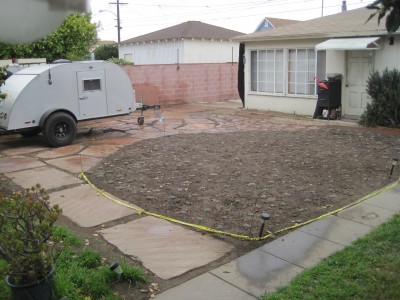
 Trailers were moved to under the orange trees. I borrowed a neighbor’s lawnmower to cut the “grass” really short. I used “Caution” tape to mark the perimeter of the yard to where we were going to remove sod. Sprinkler heads were covered to identify and hopefully protect them with inverted cans spray painted bright yellow.
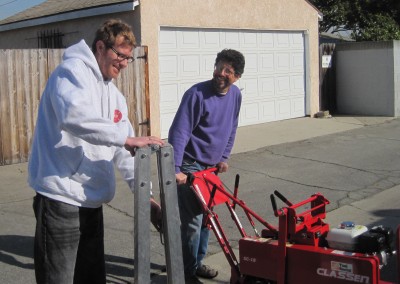
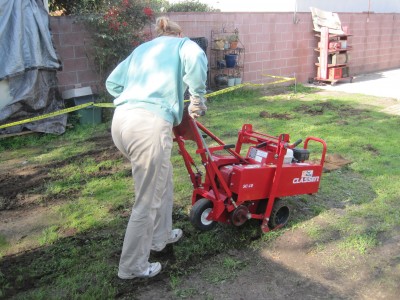
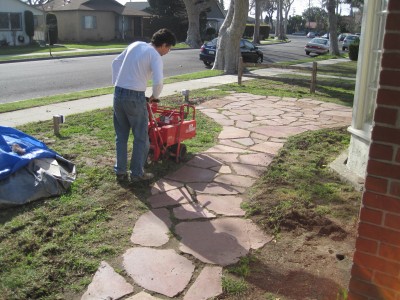
We rented a sod cutter from Home Depot for a day. Neighbor Jake helped with transporting the sod cutter in his truck. It took a lot of muscle to move this big piece of equipment around the yard, yet it was still far better than hand digging and removing the turf. We cut all the turf (front and back yards) in one day and removed it as we needed to throughout the rest of the project.
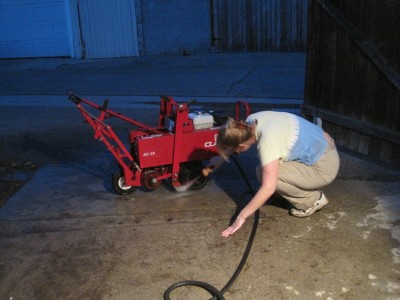
End of a long day still required washing the very dirty sod cutter before returning to Home Depot.
OBTAIN & INSTALL HARDSCAPE
Concrete left over from the front yard project became the patio area outside the back cottage.
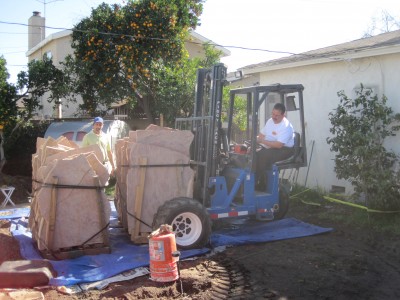
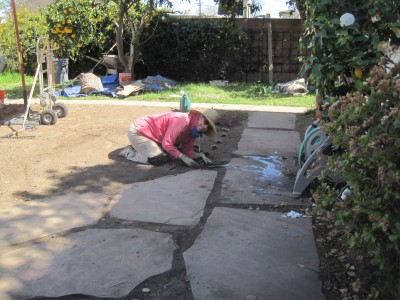
As we worked through various options for materials for the project it came as a huge surprise to us that natural stone is less expensive than man made stone, like concrete pavers. I’m happier with natural materials anyway so the Arizona flagstone was less expensive and more attractive than all other options. Load ‘n Go delivered four tons of flagstone.
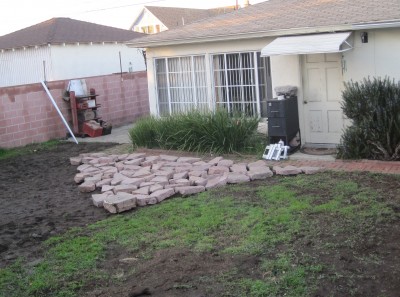
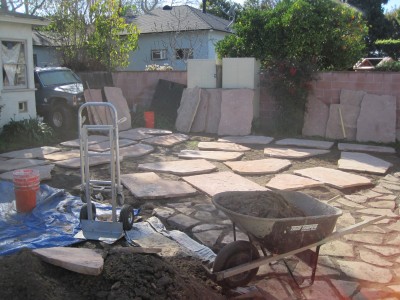
Flagstone was everywhere awaiting installation.
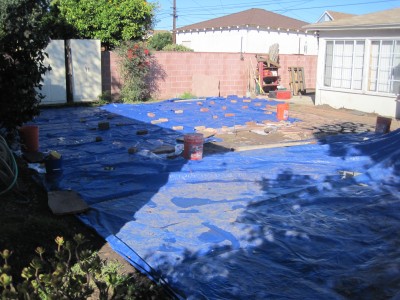
When all the pieces were in place we had to get them dry enough to seal them. We had a rainy spell and, because the days are short, this is the north side of the house and the shadows are long we were kind of challenged getting the stones to dry. Here they are covered with tarps, but the stones could still pull moisture from the ground.
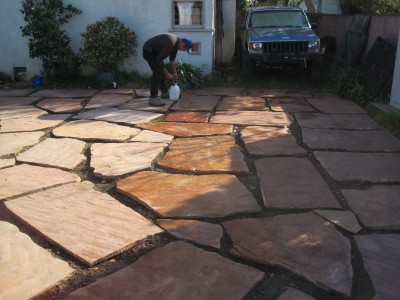
Eventually, we got them sealed.
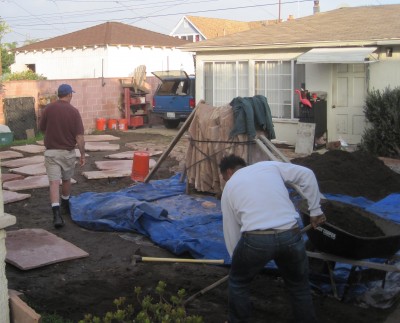
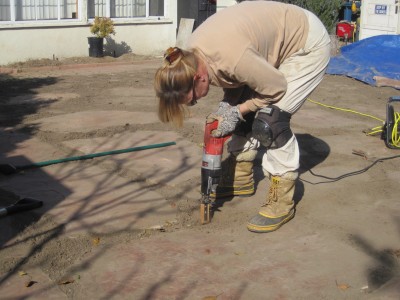
Dave invented a new tool! Dirt had to be packed around the sides of the stones to help them set in place. It’s a long process and the automatic tool Dave created helped alot.
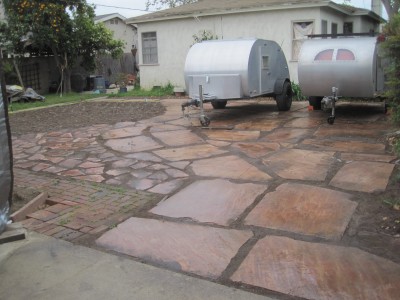
The teardrop trailers were moved back into place on the new flagstone patio and we planted Dymondia, a low drought tolerant ground cover. Eventually this will grow between the stones, closing those gaps.
I’m happy with the back yard at this stage: the blend of smaller pieces of stone (rose coloured concrete) defining the patio area in front of the cottage, the large Arizona flagstone (similar rose colour) defining the parking area, and the curved green space. More work remains on other areas of the garden in the back yard, but the biggest piece of work is done…a month before our deadline!
FRONT YARD
In the meantime all the work was being done in the back yard, the front yard continued to take shape. After using the sod cutter but prior to the turf being dumped in our green waste containers, I shook out and sifted the turf to release whatever dirt they held. I covered the naked earth with newspapers, watered them down to stay in place, then covered the newspapers with tarps. This was to prevent anything from growing back before I could get to planting what I wanted. To keep the tarps in place I piled on an assortment of logs, planks and stones. The front yard looked absolutely terrible. I couldn’t even bring myself to take a photo which is why you don’t see one here.
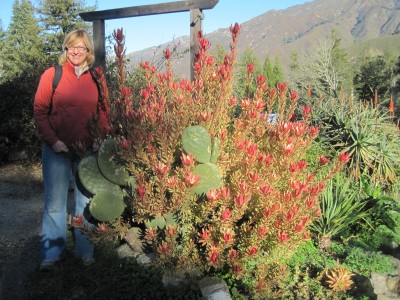
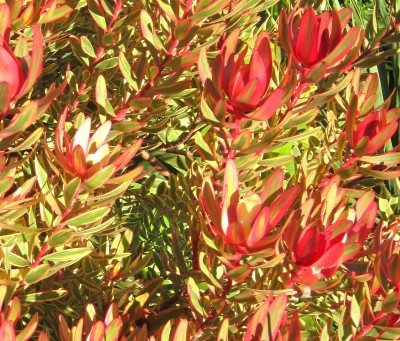
Plants in the front include Dymondia, Creeping Sage, Mexican Lobelia, Diosma, Euphorbias, Lion’s Tail, Ceanothus ‘Yankee Point’, and a personal favourite Leucadendron ‘Jester’. This plant I found while traveling in Big Sur with my friend Catherine. She is both the inspiration and sponsor for this plant in our garden.
Here’s Leucadendron ‘Jester’ as I first saw it in Big Sur. At the time I did not know the name (the cactus is not part of the plant).
Close up…the sunlight seems to emanate from the plant!
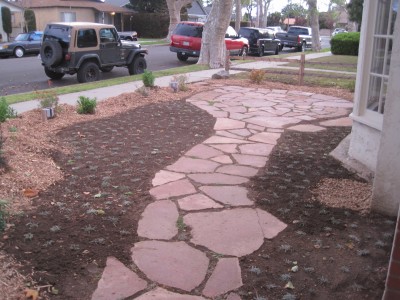
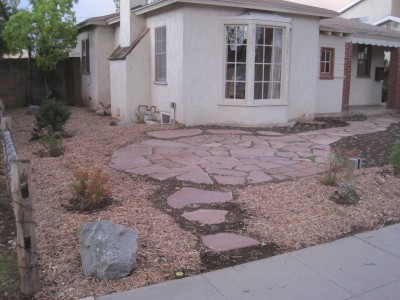
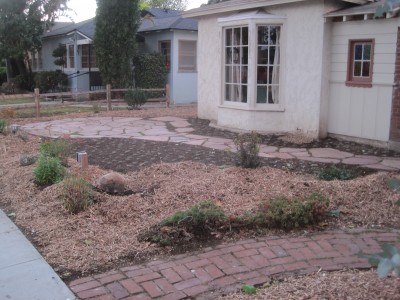
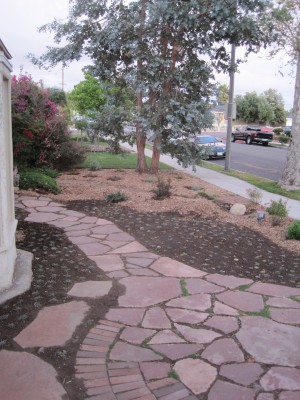
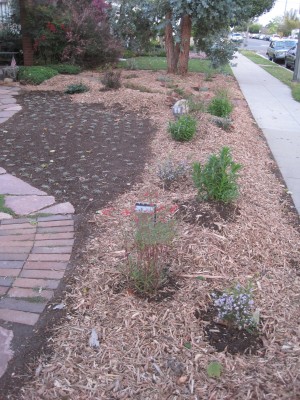
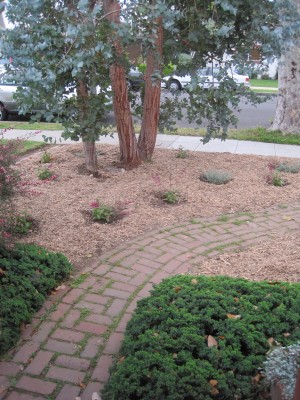
Jody’s generous gift towards our landscape made more plants possible. Over time more plants will join what is already planted and I’ll put plants in pots closer to the house. Everything will change too as these plants get larger and taller. This will give the patio area more privacy from the street and sidewalk. The dirt is covered with natural shredded wood.
‘Jester’ is in the lower left of this photo, just above the rock.
Arizona flagstone was added between the house and the patio to increase the size of the patio and cover an area that was dirt and possibly too easy for folks to trip on.
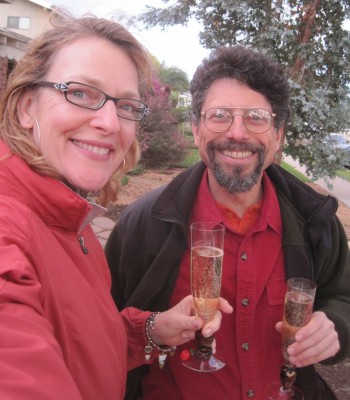
A toast to all our work being done!
OMG You guys have done so much work and it shows. Your yards both front and back look fabulis. I would love for ours to look like that, but with dogs its hard to keep even plants alive lol. You guys deserve that toast too, what a great job.
Comment by Hellen — March 26, 2012 @ 2:30 pm
Wow what a great job! What a lot of work!! But its all worth it in the end. We have to come see it some time.
Comment by Danielle — May 22, 2012 @ 3:59 pm
The patio looks nice? What product did you use to seal it? I have the same kind of patio and I sealed it, but then it didn’t breath and blotched up… I had to strip it. Thanks!
Comment by Gary — July 16, 2015 @ 4:18 pm